BBQ MASTERY AT THE GREENBRIER
My wife and I saved for over a year to attend the BBQ Mastery at the Greenbrier cooking school. West Virginia is my second home state. Patrick and I go skiing at Snow Shoe and that is where I was introduced to the best burger I have ever eaten, the Snow Shoe Burger.
The Greenbrier is nothing less than gorgeous. I awoke each morning overlooking one of its vast gardens nestled beneath majestic mountains. I slept with the window open each night. Each day, we trekked to the lodge where we we would grill and smoke a myriad of recipes. My favorite? The macaroni and cheese soup. It was also in this class that I learned to inject a whole hog. The last night there, we learned the chemistry behind making an ideal rub. Not only did I learn to interact ingredients to achieve the best flavor, I also learned to trust my own palette when deciding what blended ingredients would taste best with pork, beef, and chicken..
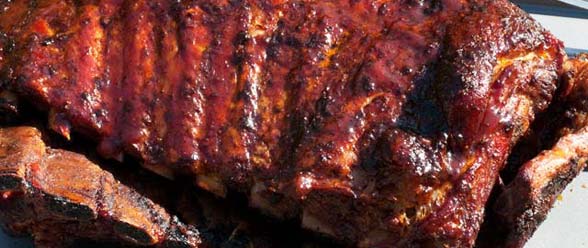
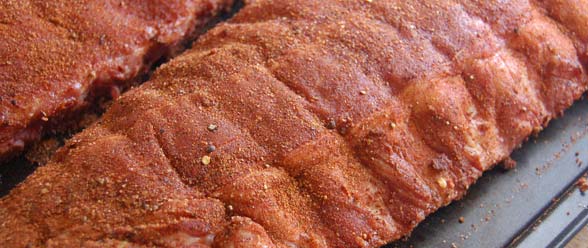
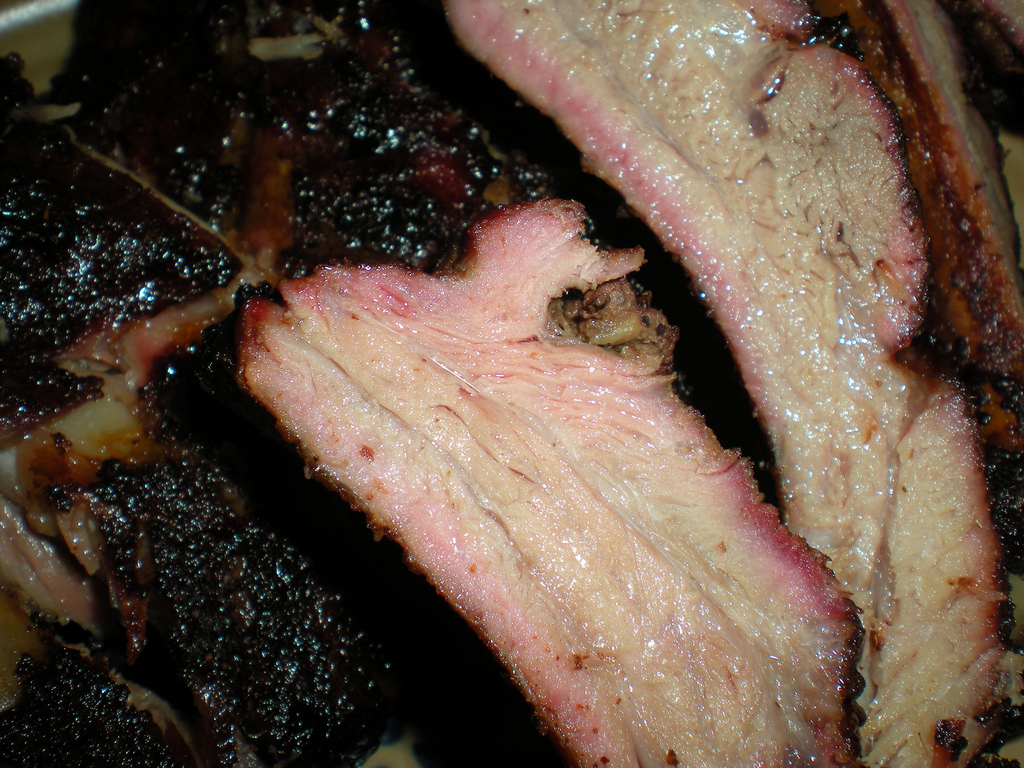
This is the BBQ Rub recipe I came up with for Barbequed Boston Butt. I make sure that the Boston Butt is coated heavily and evenly to make a nice crust. Remember, once in, make sure the temperature is correct and leave the lid closed. Allow about 1 1/2 hours of cooking time per pound. When the bone removes easily, the meat is done. Try this recipe I made at the Greenbrier.
EVERYDAY INGREDIENTS:
- 5 Tablespoons kosher salt
- 6 Tablespoons dark brown sugar
- 6 Tablespoons chili powder
- 3 Tablespoons paprika
- 3 Tablespoons garlic powder
- 2 1/2 Tablespoons coarse ground black pepper
- 1 Tablespoon onion powder
- 1 Tablespoon lemon pepper
- 1 Tablespoon dried tarragon
- 1 Tablespoon freshly chopped rosemary
- 1 Tablespoon dried thyme
- 1 Tablespoon mustard powder
- 1 teaspoon cumin
- 1 teaspoon cayenne pepper
- 1/2 teaspoon ground sage
SIMPLE INSTRUCTIONS:
FIRST AND LAST STEP: Mix all ingredients and store in an airtight glass jar in the refrigerator.
DID YOU KNOW? It is easy to make your own rub. I learned at the Greenbrier that there are five steps to making a quality rub:
Step One: DECIDE THE AMOUNT: Rubs can be stored for months, but after time they begin to loose their flavor, so if you won’t use it all in a few months then you’ve made too much.
Step Two: THE BASIC FLAVOR. Salt and sugar are your base in making a rub. Start out with a cup of each and you are ready to build up your rub. Remember, sugar can be white, brown, turbinado or any other kind of sugar you like. As for salt, you can go with regular table salt, sea salt, kosher salt, or you can use a flavored salt like garlic, onion or seasoning salts.
Step Three: BUILD THE FLAVOR: Salt and sugar are your base. By simply adding paprika you have accomplished two goals: that of color and of taste. Paprika is great for color but also for its mild flavor.
Step Four: ADD HEAT: You can choose a variety of chili powders, crushed red pepper flakes or any other dried and ground pepper. When adding pepper, consider its intensness. Depending on the heat of the pepper you add you can go with anything from about 1/2 cup to a teaspoon or two. If you are adding cayenne I suggest about 1 tablespoon for a fairly hot rub to 1 teaspoon for something with a touch of heat.
Step Five: ADD THE HERBS AND SPICES: Be conservative with your herbs. Remember that it is easier to add something to a rub than it is to take it out. “The best tool for rub building is a good collection of spices. Line them up and add them as you see fit. If you start out making small batches of a rub you won’t end up with a large supply of something that just isn’t working. Experiment and you will soon have a mixture that truly suits your tastes.”
Use my recipe as a road map to making YOUR perfect rub. By following the recipe, you can see the principles I learned at the Greenbrier in making my rub.
Michael Wright
http://www.athomewithmichael.com
Purchase Michael’s best-selling book at http://www.athomewithmichael.com. Highly recommended by Amazon.com.


Dude, if you’re a fine artist, you trust your palette. If you’re a BBQer, you trust your PALATE.
Great rub, it is the best one that I have tried, and I will stick with it, life’s too short and smoking pork shoulders take too much time to keep saying “we should have used that other rub instead”. When you smoke a piece of meat that long, you wouldn’t think that it would make much of a difference…but it truly does, thanks for sharing it. Five Star rating from me, and believe me, I don’t take time for posting something like this unless it really makes an impression.